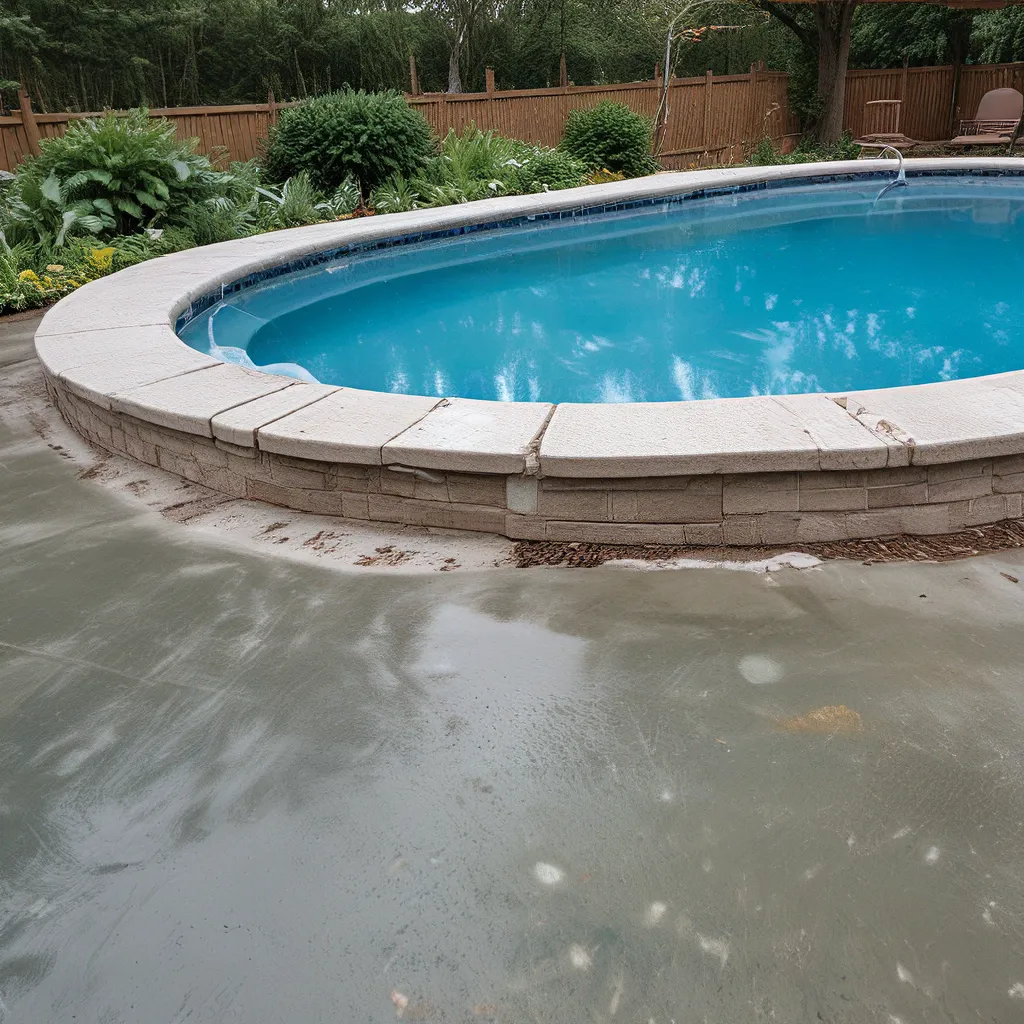
As the leaves start to turn and the air becomes crisp, it’s time to start thinking about winterizing your pool. While the thought of bidding farewell to summer fun can be a bit melancholy, taking the time to properly prepare your pool for the colder months ahead is essential. After all, you want your oasis to be ready to go when the warm weather returns, don’t you?
The Importance of Winterizing
Neglecting to winterize your pool can lead to all sorts of headaches come springtime. Freeze damage, algae buildup, and other nasty surprises are just a few of the potential issues you could face. By taking the time to properly shut down and protect your pool now, you’ll save yourself a ton of time, money, and stress in the long run.
Think about it – do you really want to start your pool season next year by having to drain, clean, and repair the entire thing? I sure don’t! That’s why I make it a point to diligently winterize my pool every fall. It may take a bit of time and effort upfront, but the payoff is well worth it.
Step-by-Step Winterization
Alright, let’s dive into the nitty-gritty of how to get your pool ready for its winter hibernation. First things first, you’ll want to gather all the necessary supplies. This includes a pool vacuum, brush, shock, algaecide, water test kit, and any other pool maintenance items you might need.
Once you’ve got your gear, it’s time to get to work. Start by giving your pool a thorough cleaning – use the brush to scrub the walls and floor, and then run the vacuum to suck up any remaining debris. This will help prevent the buildup of algae and other nasties while your pool is closed for the season.
Next, you’ll want to test and adjust the water chemistry. Aim for a pH level between 7.2 and 7.6, and make sure the alkalinity, calcium hardness, and other key metrics are all within the ideal range. Properly balanced water not only looks and feels nicer, but it also helps protect your pool equipment from damage.
According to the experts at This Old House, you’ll also need to lower the water level to a few inches below the skimmer if you’re using a solid winter cover, or about a foot down if you’re using a safety cover. This helps prevent damage from freezing temperatures.
With the water level adjusted, it’s time to drain and blow out the pipes. Use an air compressor to force any remaining water out of the lines and pump, then plug them up to keep the elements out. This step is crucial for avoiding burst pipes and other costly winter-related issues.
Covering it Up
The final piece of the puzzle is getting your pool properly covered. There are a few different types of covers to choose from, each with their own pros and cons.
Safety covers are the gold standard – they create a sturdy barrier that not only keeps out debris, but also prevents anyone (or anything) from accidentally falling in. The downside is that they require more effort to install and secure.
On the other hand, winter covers are a bit easier to manage, but they don’t offer the same level of protection. They’re still effective at keeping out leaves and other junk, but they won’t hold the weight of a person or pet.
Regardless of which route you go, make sure the cover is tight-fitting and in good condition. Any rips, tears, or gaps could lead to big trouble when the temperature drops.
Saltwater Considerations
If you’ve got a saltwater pool, the winterization process has a few extra steps. According to the experts at Texoma Pools, you’ll still need to drain the water, blow out the lines, and get that cover on tight. But you’ll also want to add some special winterizing chemicals to keep the saltwater system in tip-top shape.
Consult your pool’s manual or reach out to a local professional for the specifics on how to properly winterize a saltwater setup. It’s a bit more involved, but taking the time to do it right will pay dividends come springtime.
Anticipating Issues
Even if you follow all the steps to the letter, you may still encounter some problems during the winter months. According to This Old House, some common issues include algae growth and burst pipes.
If you do spot any issues, it’s important to address them as soon as possible. Letting problems fester can lead to much more extensive (and expensive) repairs down the line. Keep a close eye on your covered pool throughout the winter and be ready to spring into action if anything seems amiss.
The Payoff
I know, winterizing your pool can be a real pain in the you-know-what. But trust me, it’s so worth it in the long run. When spring rolls around and you’re able to just uncover your pool, add a few chemicals, and dive right in – that’s the real payoff.
No draining, no scrubbing, no hassle. Just pure, unadulterated pool fun. Doesn’t that sound amazing? I can practically feel the warm sun on my face and the cool water lapping at my toes just thinking about it.
So, my friends, put on your best determined face and let’s get to work. With a little elbow grease now, you’ll be swimming in the lap of luxury come summertime. Trust me, your future self will thank you.
And if you need any help along the way, don’t hesitate to reach out to the experts at Alpha Wastewater. They’ve got the knowledge and resources to ensure your pool is ready to go, no matter what Mother Nature has in store.
Happy winterizing!